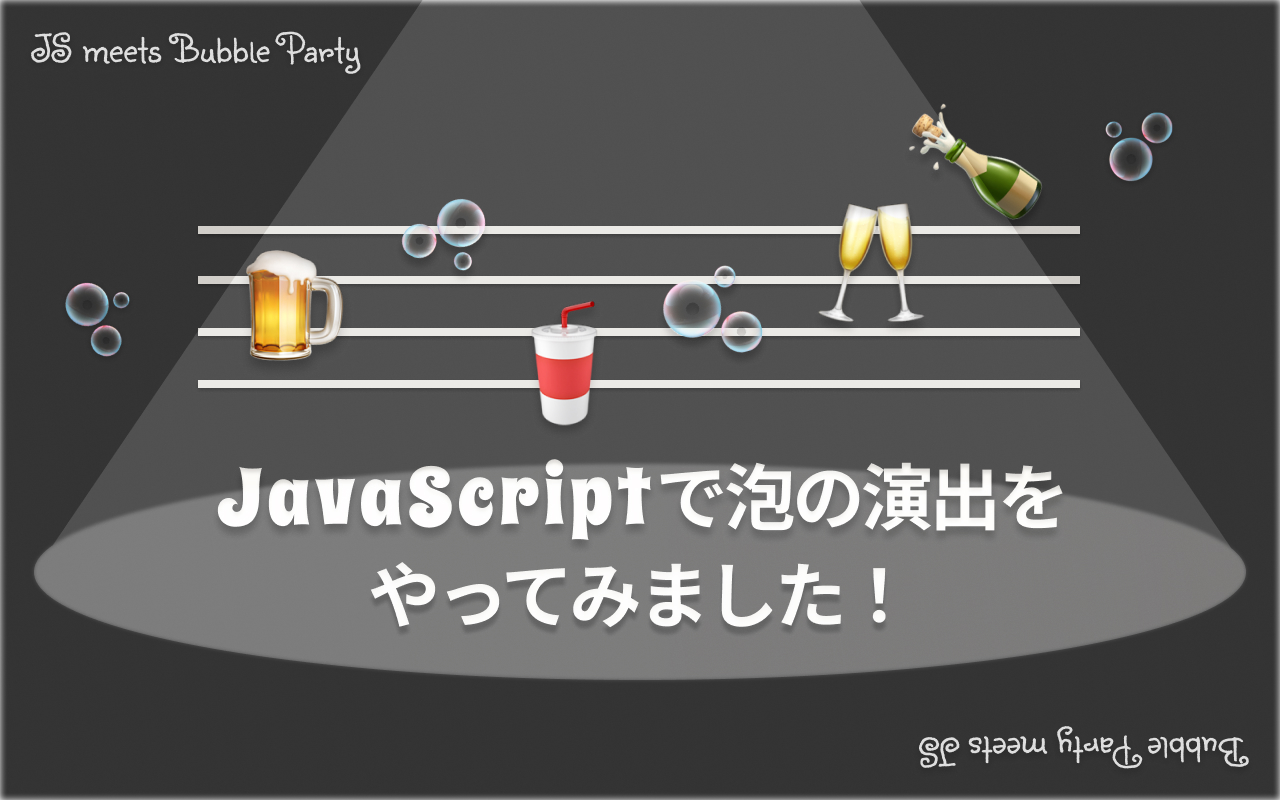
今回、3つの泡のアニメーションを requestAnimationFrame を使って作ってみました。
それぞれ違う飲み物をイメージして、泡の動きや見た目を変えています。
どれも基本的には「泡のDOMを生成 → 上昇アニメーションを実行」という流れになっていますが、 それぞれの演出には少しずつ工夫があります。
今回は、その工夫したポイントを1つずつ紹介していきます。
1. コーラの泡
コーラは元気なイメージなので、泡も大きめにして、動きも少し早くしました。
コードでは、泡を setInterval でたくさん作り、それぞれ requestAnimationFrame で上に上がるようにしています。
コード:
const foamContainer = document.getElementById(`foam-container`);
let foams = [];

let clientWidth = document.documentElement.clientWidth;
let clientHeight = document.documentElement.clientHeight;

window.addEventListener('resize', () => {
  clientWidth = document.documentElement.clientWidth;
  clientHeight = document.documentElement.clientHeight;
});

function cokeFoam (){
  const positionX = Math.floor(Math.random() * (clientWidth - 50)) +20;
  const positionY = Math.floor(Math.random() * (clientHeight));
  const size = Math.floor(Math.random() * 21 ) + 5;

  const foam = document.createElement('div');
  foam.className = 'bubble';
  foam.style.width = `${size}px`;
  foam.style.height = foam.style.width;
  foam.style.left = `${positionX}px`;
  foam.style.bottom = `${positionY}px`;

  foamContainer.appendChild(foam);
  foams.push({ el: foam, y: positionY});
}

function foamBooster () {
  const speed = Math.floor(Math.random() * 10 ) +4;
  foams.forEach((f, i) => {
    f.y += speed;
    f.el.style.transform = `translateY(-${f.y}px)`;
    if(f.y > clientHeight){
      f.el.remove();
      foams.splice(i, 1);
    }
  })
  requestAnimationFrame(foamBooster);

}
requestAnimationFrame(foamBooster);
setInterval(cokeFoam, 10);
動き自体はシンプルで、translateYを使って上に動かしています。
ランダムな位置とサイズで出てくるので、炭酸っぽい印象になります。
2. ビールの泡
ビールの泡は、上にあがったあと、泡の層としてしばらく残る印象があります。
そこで、泡が document.documentElement.clientHeightの上部に到達したら、bubble-top というクラスを追加して、その場にとどまっている泡のように見せています。
foam.classList.add('bubble-top');このクラスでは、opacity や background-color を少し明るくして、「泡が溜まっている感」を出すようにしています。
.bubble-top {
  box-shadow: 0 0 4px rgba(255, 255, 255, 0.2);
  background-color: rgba(255, 255, 255, 0.8);
  transition: opacity 0.5s ease;
}
さらに、requestAnimationFrame の time を使って deltaTime を計算し、アニメーションを時間に合わせて制御するようにしました。泡が上まで行ったら数秒とどまり、そのあと自然に opacity が下がって消えます。
const randomTime = (Math.floor(Math.random() * 3) + 1) * 1000;

setTimeout(() => {
  f.el.style.opacity = 0;
  setTimeout(() => f.el.remove(), 500);
}, randomTime);
結果的に、「上に溜まっていく白い泡の層」ができて、ビールらしい見た目に仕上がりました。
コード:
const foamContainer = document.getElementById(`foam-container`);
const bubbleTops = document.querySelectorAll(`.bubble-top`);
const topBuffer = 100;
let foams = [];
let lastTime = null;

let clientWidth = document.documentElement.clientWidth;
let clientHeight = document.documentElement.clientHeight;

window.addEventListener('resize', () => {
  clientWidth = document.documentElement.clientWidth;
  clientHeight = document.documentElement.clientHeight;
});

function topFoam () {
  const size = Math.floor(Math.random() * 15 ) + 5;
  const topY = clientHeight - topBuffer + 3;

  bubbleTops.forEach(bubbleTop => {
    const size = Math.floor(Math.random() * 15 ) + 5;
    const topX = Math.floor(Math.random() * (clientWidth - 30)) +20;

    bubbleTop.style.width = `${size}px`;
    bubbleTop.style.height = bubbleTop.style.width;
    bubbleTop.style.left = `${topX}px`;
    bubbleTop.style.bottom = `${topY}px`;
  })
}

setInterval(topFoam,200);

function beerFoam (){
  const positionX = Math.floor(Math.random() * (clientWidth - 30)) +20;
  const positionY = Math.floor(Math.random() * (clientHeight));
  const size = Math.floor(Math.random() * 15 ) + 5;

  const foam = document.createElement('div');
  foam.className = 'bubble';
  foam.style.width = `${size}px`;
  foam.style.height = foam.style.width;
  foam.style.left = `${positionX}px`;
  foam.style.bottom = `${positionY}px`;
  foamContainer.appendChild(foam);

  foams.push({ el: foam, y: positionY});
}

setInterval(beerFoam,30);

function foamBooster (time) {
  if (!lastTime) lastTime = time;
  const delta = time - lastTime;
  lastTime = time;

  const randomTime = (Math.floor(Math.random() * 3) + 1) * 1000;

  foams.forEach((f, i) => {
    f.y += delta * 0.1;
    f.el.style.bottom = `${f.y}px`;
    if(f.y >= clientHeight - topBuffer){
      f.el.style.bottom = `${clientHeight - topBuffer + 3}px`;
      f.el.classList.add('bubble-top');
      setTimeout(() => {
        f.el.style.opacity = 0;
        setTimeout(() => f.el.remove(), 500);
      }, randomTime);
      foams.splice(i, 1);
    }
  })
  requestAnimationFrame(foamBooster);
}
requestAnimationFrame(foamBooster);
3. シャンパンの泡
シャンパンの泡は、小さくて、細くて、上にまっすぐ上がっていくイメージです。
そのため、requestAnimationFrame を使って全ての泡を管理し、位置を一括で更新しています。
また、ChampagneFoam() でランダムな位置に泡を出しつつ、決まった位置にも泡を出すことで、「ランダムさ」と「直線的な泡」を両立させました。
コード:
const foamContainer = document.getElementById('foam-container');
let foams = [];

let clientWidth = document.documentElement.clientWidth;
let clientHeight = document.documentElement.clientHeight;

window.addEventListener('resize', () => {
  clientWidth = document.documentElement.clientWidth;
  clientHeight = document.documentElement.clientHeight;
});


function createBubbleAt(x, startY) {
  const foam = document.createElement('div');
  foam.className = 'bubble';
  const speed = Math.floor(Math.random() * 10 ) +4;
  const size = Math.random() * 3 + 2;
  foam.style.width = `${size}px`;
  foam.style.height = foam.style.width;
  foam.style.left = `${x}px`;
  foam.style.bottom = `${startY}px`;
  foam.style.opacity = 1;
  foamContainer.appendChild(foam);
  foams.push({ el: foam, y: startY, speed});
}

function ChampagneFoam (){
  createBubbleAt(Math.random() * (clientWidth - 100) + 50, Math.random() * (clientHeight - 100) + 50);
  createBubbleAt(Math.random() * (clientWidth - 100) + 50, Math.random() * (clientHeight - 100) + 50);
  createBubbleAt((3 * clientWidth) / 4, 0);
  createBubbleAt(clientWidth / 4, 200);
  createBubbleAt(clientWidth / 5, 50);
  createBubbleAt(clientWidth / 2, 150);
  createBubbleAt(clientWidth * 2 / 3, 80);
}

function foamBooster() {
  foams.forEach((f, i) => {
    f.y += f.speed;
    f.el.style.bottom = `${f.y}px`;
    if (f.y < clientHeight - 100) {
      f.el.style.opacity = `${1 - (f.y - (clientHeight - 100)) / 100}`;
    }
    if (f.y >= clientHeight) {
      f.el.remove();
      foams.splice(i, 1);
    }
  })
  requestAnimationFrame(foamBooster);
}

requestAnimationFrame(foamBooster);
setInterval(ChampagneFoam, 200);
まとめ
3つとも requestAnimationFrame を使っていますが、それぞれ使い方が少しずつ違います:
飲み物 | 特徴 | 技術ポイント |
|---|---|---|
コーラ | 大きくて速く、たくさん出る | cokeFoam() で泡を作り、foamBooster() でまとめて動かす。translateY でシンプルに上昇。 |
ビール | 上にたまって、少しして消える | beerFoam() で泡を生成。deltaTime で動きを調整し、上に着いたら setTimeout() で自然にフェードアウト。 |
シャンパン | 小さくて細かい、いろんな場所から出る | ChampagneFoam() で泡を出す位置を決める。foamBooster() で一括管理し、opacity で自然に消えるようにした。 |
泡の動きには飲み物のキャラクターが出るので、見た目の調整もとても楽しかったです。
それぞれの特徴にあわせてアニメーションを変えることで、もっと自然でリアルな表現ができました。
参考記事
https://developer.mozilla.org/en-US/docs/Web/API/Window/setInterval
https://developer.mozilla.org/en-US/docs/Web/API/Window/setTimeout
https://developer.mozilla.org/ja/docs/Web/API/Window/requestAnimationFrame
https://techplay.jp/column/548
https://developer.mozilla.org/en-US/docs/Web/API/Window/requestAnimationFrame
https://ics.media/entry/210414/
https://www.javadrive.jp/javascript/event/index9.html#google_vignette


