説明
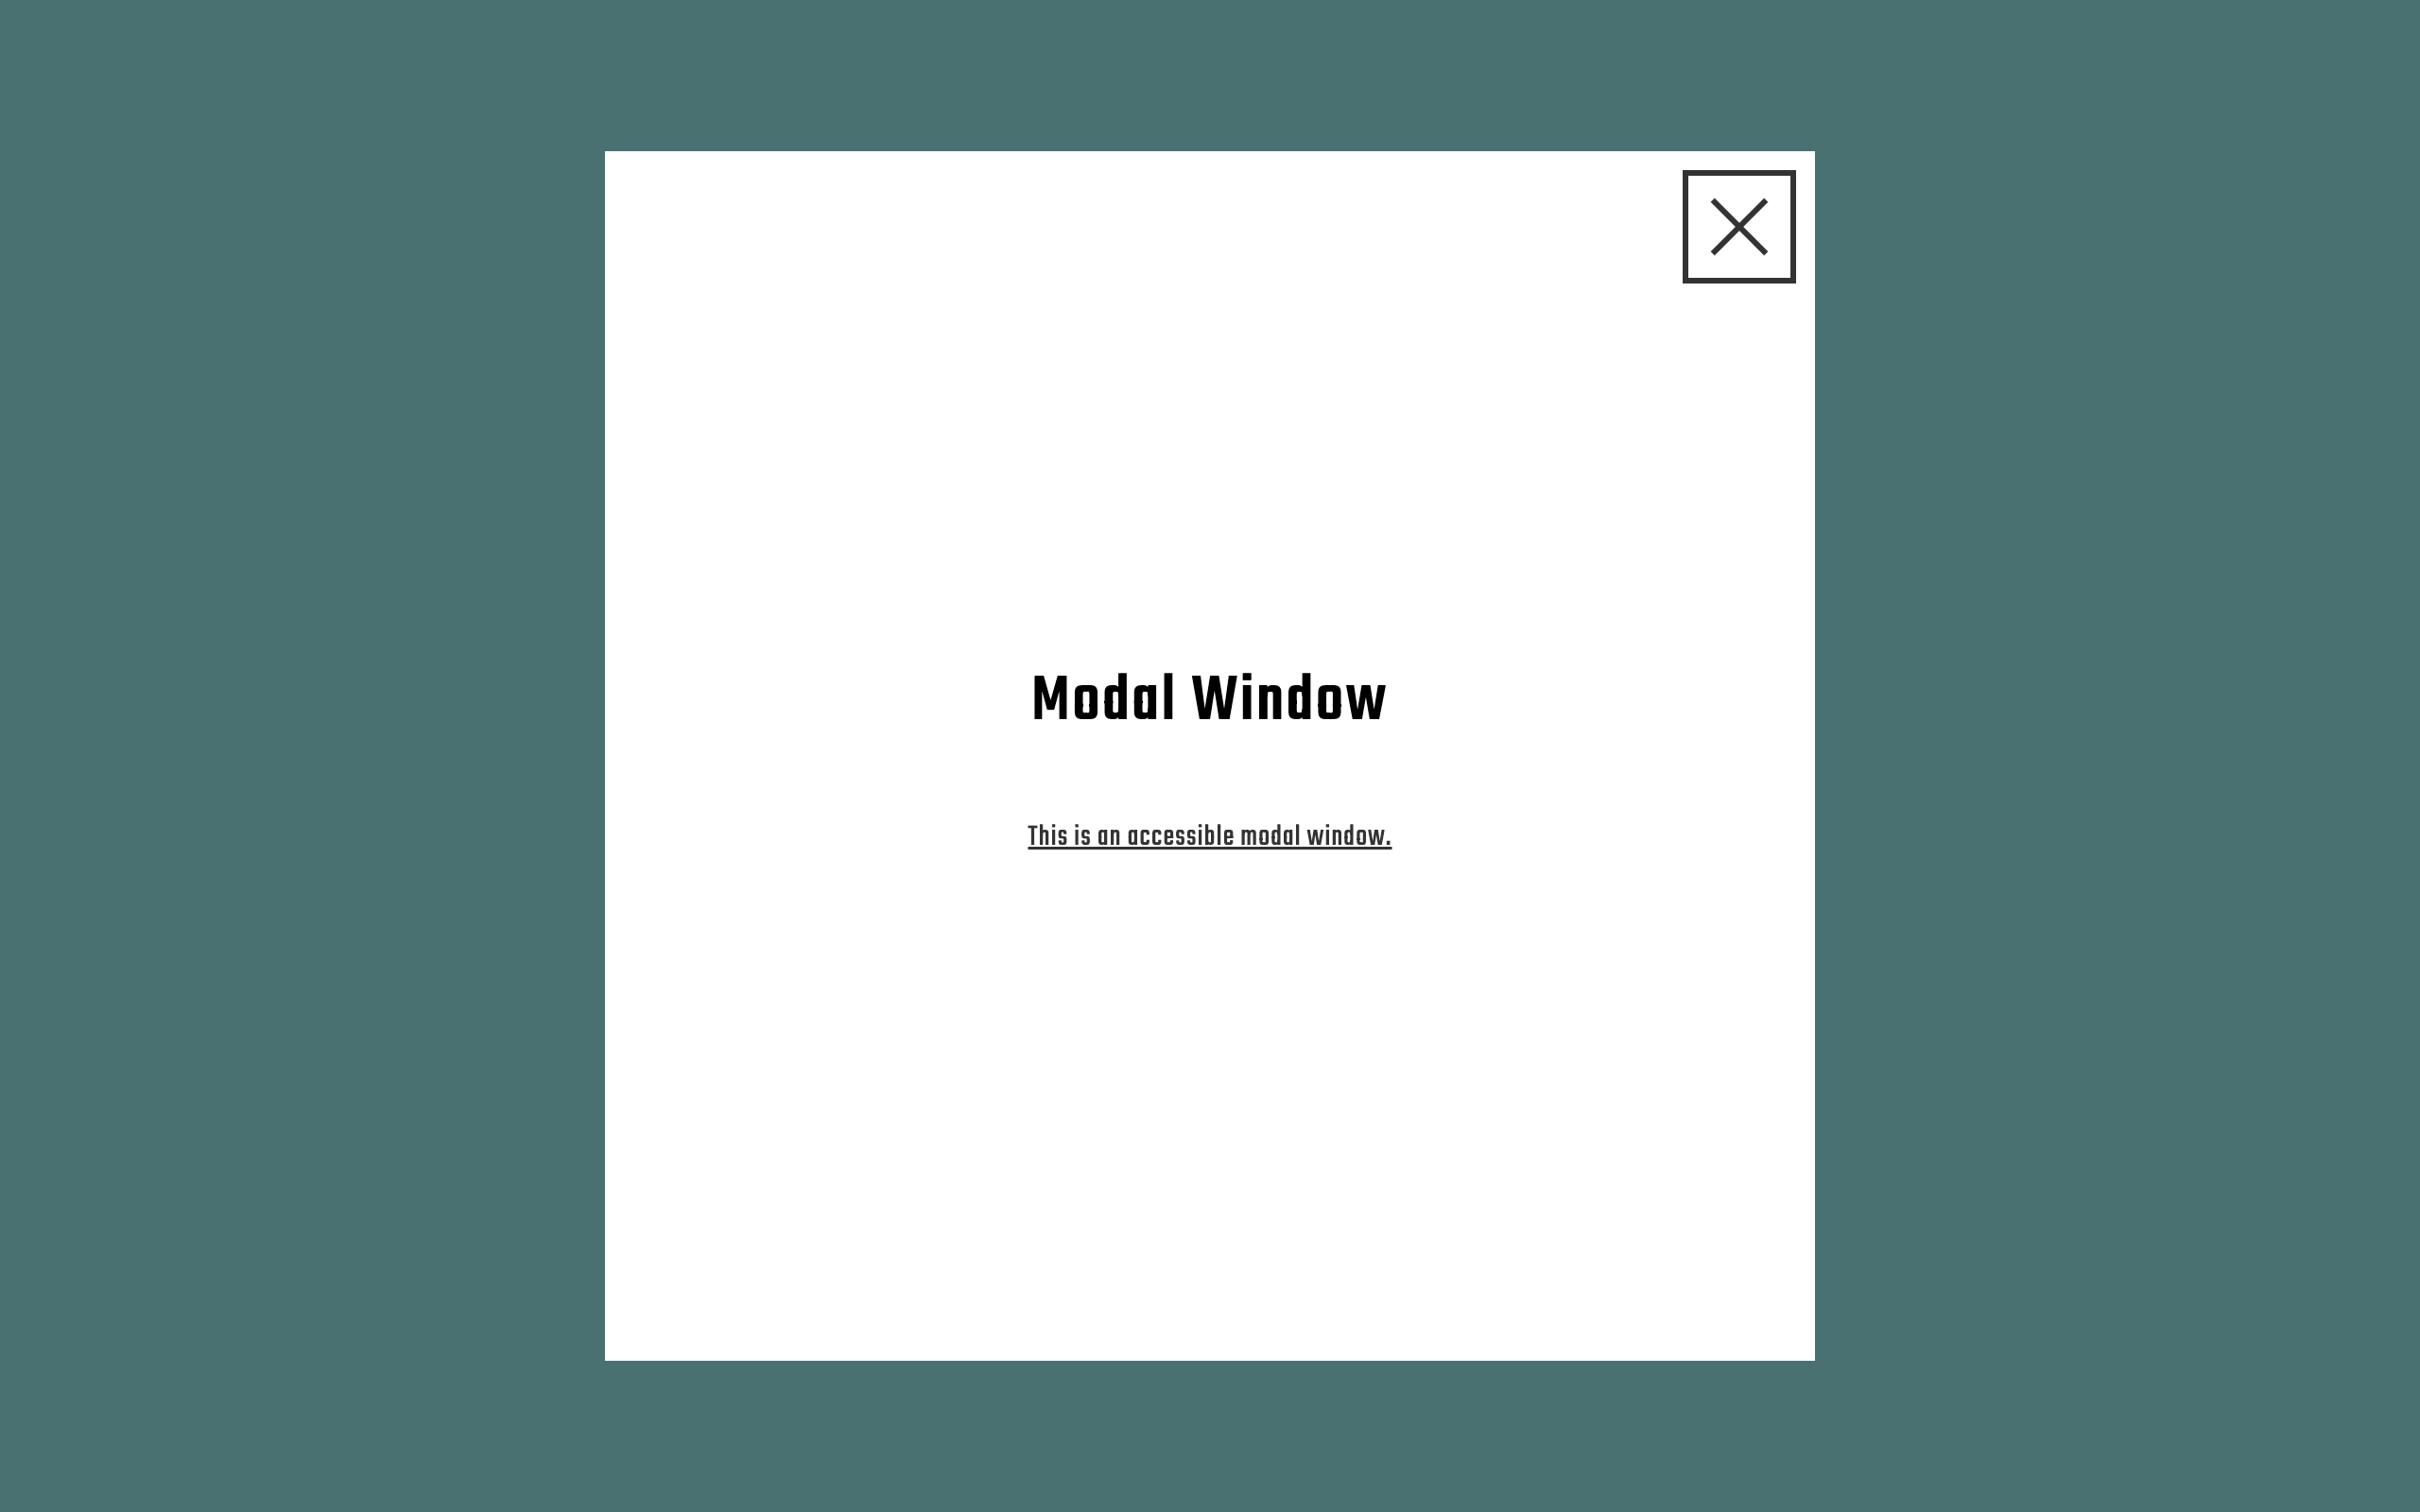
アクセシビリティに配慮したモーダルウィンドウの実装例をご紹介します。
※以降の説明では、モーダル、ダイアログ、ダイアログウィンドウ、モーダルダイアログといった表記は全て「モーダルウィンドウ」で統一しています。W3Cが公開しているDialog (Modal) Patternの原文とは少し表現を変更している部分がありますので予めご了承ください。
完成版
1. WAI-ARIAによる実装例
2. dialogによる実装例
使用するライブラリ
なし
手順
モーダルウィンドウのアクセシビリティを改善する方法として、以下の2パターンが挙げられます。
・WAI-ARIAを使用した例
・dialogタグを使用した例
今回はWAI-ARIAでの実装例をベースに解説したのち、dialogタグを使用した実装例についてもご紹介します。
1. ベースコーディング
実装に入る前にモーダルウィンドウの構成要素について触れておきます。
ARIA APG(W3Cが公開しているWAI-ARIAを用いたウェブコンテンツ制作ガイド)では、以下のように説明されています。
モーダルウィンドウ
メインウィンドウまたは別のモーダルウィンドウの上に重ねて表示されるウィンドウ。
モーダルウィンドウがアクティブの時、モーダルウィンドウの下にあるウィンドウは操作不可能(ユーザーが対話できない状態)となる。
なお、推奨HTMLタグについては明確な記述はなく、基本的にはWAI-ARIAでカバーしていく形になりますが、モーダルウィンドウ内に含める要素については以下の注記があります。
すべてのモーダルウィンドウには、閉じるアイコンやキャンセルボタンなど、モーダルウィンドウを閉じる
role="button"を持つ可視要素を含めることが推奨される。
まずはこの基準に則ってマークアップを行います。
<main class="main">
  <button type="button" class="trigger js-modal-toggle">モーダルウィンドウを開く</button>
</main>
<div class="modal js-modal">
  <div class="modal-container">
    <h2 class="modal-title">モーダルウィンドウタイトル</h2>
    <button type="button" aria-label="モーダルウィンドウを閉じる" class="modal-trigger js-modal-toggle"></button>
  </div>
</div>メインウィンドウとモーダルウィンドウを設置し、メインウィンドウにはモーダルウィンドウを開くボタン、モーダルウィンドウ内にはrole="button"(button要素)でモーダルウィンドウを閉じるボタンを配置しています。
なお、モーダルウィンドウを開くボタンについては明確な推奨HTMLタグの指示はありませんが、キーボード操作︎によるフォーカス移動(Tab)やクリック(Enter)への対応を考慮し、閉じるボタンと同様にbutton要素でマークアップしています。
2. WAI-ARIAの設置
次に、WAI-ARIAを設置していきます。
使用する属性についても、ARIA APGにて詳しく説明されています。(抜粋)
- モーダルウィンドウ要素にdialogロール(
role="dialog")を設定する- モーダルウィンドウを操作するために必要なすべての要素は、dialogロールを持つ要素の子孫となる
- モーダルウィンドウ要素に
aria-modal="true"を設定する- モーダルウィンドウ要素には以下のいずれかを設定する
・表示されているモーダルウィンドウタイトルを参照するaria-labelledbyプロパティの値
・aria-labelで指定されたラベル- モーダルウィンドウの主な目的やメッセージを説明するコンテンツを含む要素を示す場合は、dialogロールを持つ要素に
aria-describedbyプロパティを設定する(オプション)
上記をもとに先ほどのマークアップを修正します。
<main class="main">
  <button type="button" class="trigger js-modal-toggle">モーダルウィンドウを開く</button>
</main>
<div class="modal js-modal" role="dialog" aria-modal="true" aria-labelledby="modal-title01">
  <div class="modal-container">
    <h2 id="modal-title01" class="modal-title">モーダルウィンドウタイトル</h2>
    <button type="button" aria-label="モーダルウィンドウを閉じる" class="modal-trigger js-modal-toggle"></button>
  </div>
</div>role="dialog"の付与により、スクリーンリーダーなどの支援技術に対して、.modalがモーダルウィンドウのユーザーインターフェースであることが通知されます。
また、モーダルウィンドウには適切なラベルが必要となるため、aria-labelledbyで見出し要素︎(h2)の値を参照しています。
なお、aria-modal="true"はモーダルウィンドウ外のメインコンテンツが操作不可能であることを支援技術に通知するもので、モーダルウィンドウ外の要素に対してaria-hidden="true"を付与した状態と同様の結果を得ることができます。
ただし、aria-modal="true"に対応していない支援技術も存在するようなので、後ほどJavaScriptでメインコンテンツを直接非活性化(inert)する処理を追加します。
3. キーボード操作について
次に、キーボード操作による挙動を見ていきます。
ARIA APGでは以下のように説明されています。(抜粋)
※以下の説明における「タブ移動可能な要素」とは、
tabindex値が0以上の要素(or HTMLのインタラクティブ要素)を指す。なお、0より大きい値は非推奨とする。
- モーダルウィンドウを開いた時、フォーカスはモーダルウィンドウ内の要素︎(通常は最初のタブ移動可能な要素)に移動させる
Tabキーを押した時
・モーダルウィンドウ内の次のタブ移動可能な要素にフォーカスを移動させる
・モーダルウィンドウ内の最後のタブ移動可能な要素にフォーカスがある場合、モーダルウィンドウ内の最初のタブ移動可能な要素にフォーカスを移動させるShift + Tabキーを押した時
・モーダルウィンドウ内の前のタブ移動可能な要素にフォーカスを移動させる
・モーダルウィンドウ内の最初のタブ移動可能な要素にフォーカスがある場合、モーダルウィンドウ内の最後のタブ移動可能な要素にフォーカスを移動させるEscapeキーを押した時
・モーダルウィンドウを閉じる- モーダルウィンドウを閉じた時、フォーカスをモーダルウィンドウを呼び出した要素に戻す(一部例外あり)
1〜3の対応は一般的にフォーカストラップと呼ばれるもので、非活性化されたメインウィンドウ内にフォーカスが移動しないよう、モーダルウィンドウ内にフォーカスを閉じこめる処理となります。
これらの対応はマークアップでカバーしきれないため、JavaScriptを用いて実装する必要があります。
4. JavaScriptの実装
ここまでの要件を踏まえて、JavaScriptでモーダルウィンドウの動作を実装します。
ARIA APGのModal Dialog Exampleをベースに作成しています。
class Modal {
  // DOM要素
  dialog = null
  toggleTriggers = null
  main = []
  focusableEls = []
  lastFocusedEl = null
  // インスタンス
  abortController = null
  // フラグ
  isOpen = false
  isAnimating = false

  constructor({ dialog = '', toggleTrigger = '', mainContent = ['main'] }) {
    this.dialog = document.querySelector(dialog)
    this.toggleTriggers = document.querySelectorAll(toggleTrigger)
    this.main = mainContent.map((selector) => document.querySelector(selector))
    // 参考:https://github.com/ghosh/Micromodal/blob/master/lib/src/index.js
    this.focusableEls = this.dialog.querySelectorAll('a[href], area[href], input:not([disabled]):not([type="hidden"]):not([aria-hidden]), select:not([disabled]):not([aria-hidden]), textarea:not([disabled]):not([aria-hidden]), button:not([disabled]):not([aria-hidden]), iframe, object, embed, [contenteditable], [tabindex]:not([tabindex^="-"])')
    this.lastFocusedEl = null
    this.isOpen = this.dialog.classList.contains('is-open')
    this.abortController = new AbortController()
  }

  // 初期化
  init() {
    this.toggleTriggers.forEach((trigger) => {
      trigger.addEventListener('click', this._toggle.bind(this), { signal: this.abortController.signal })
    })
    this.dialog.addEventListener('click', (e) => {
      if (e.target === this.dialog) {
        this._toggle()
      }
    }, { signal: this.abortController.signal })
    this.dialog.addEventListener('keydown', this._handleKeyAction.bind(this), { signal: this.abortController.signal })
  }

  // 破棄
  destroy() {
    this.isAnimating = false
    this.isOpen && this._toggle()
    this.abortController?.abort()
    this.dialog = null
    this.toggleTriggers = null
    this.main
    this.focusableEls = []
    this.lastFocusedEl = null
    this.abortController = null
  }

  // 背面スクロール抑制
  _scrollFixed(boolean) {
    let scrollY
    if (boolean) {
      scrollY = window.scrollY
      document.body.style.position = 'fixed'
      document.body.style.top = `-${scrollY}px`
    } else {
      scrollY = document.body.style.top
      document.body.style.removeProperty('position')
      document.body.style.removeProperty('top')
      window.scrollTo(0, parseInt(scrollY || '0') * -1)
    }
  }

  // アニメーションの待機
  async _waitAnimation(target) {
    const animations = target.getAnimations()
    if (animations.length === 0) {
      return Promise.resolve()
    } else {
      await Promise.allSettled(animations.map((animation) => animation.finished))
    }
  }

  // キーボード操作
  _handleKeyAction(e) {
    const firstFocusableEl = this.focusableEls[0]
    const lastFocusableEl = this.focusableEls[this.focusableEls.length - 1]
    switch (e.key) {
      // Tab(フォーカストラップ)
      case 'Tab':
        // Shift + Tab(戻る)
        if (e.shiftKey) {
          if (document.activeElement === firstFocusableEl) {
            e.preventDefault()
            // ダイアログ内で最初のフォーカス可能な要素の場合、最後のフォーカス可能要素にフォーカスを移す
            lastFocusableEl.focus()
          }
        } else {
          // Tab(進む)
          if (document.activeElement === lastFocusableEl) {
            e.preventDefault()
            // ダイアログ内で最後のフォーカス可能な要素の場合、最初のフォーカス可能要素にフォーカスを移す
            firstFocusableEl.focus()
          }
        }
        break
      // Esc(閉じる)
      case 'Escape':
        e.preventDefault()
        this._toggle()
        break
    }
  }

  // モーダルウィンドウの開閉
  async _toggle() {
    if (this.isAnimating) return
    this.isAnimating = true
    this.isOpen = !this.isOpen
    this.dialog.classList.toggle('is-open', this.isOpen)
    this.main.forEach((el) => {
      el && (el.inert = this.isOpen)
    })
    this._scrollFixed(this.isOpen)

    if (this.isOpen) {
      this.lastFocusedEl = document.activeElement
      await this._waitAnimation(this.dialog)
      this.focusableEls[0].focus()
      this.isAnimating = false
    } else {
      this.lastFocusedEl.focus()
      await this._waitAnimation(this.dialog)
      this.lastFocusedEl = null
      this.isAnimating = false
    }
  }
}

// クラスの実行
const modal = new Modal({
  dialog: '.js-modal',
  toggleTrigger: '.js-modal-toggle',
  mainContent: ['main'],
})
modal.init()
今回はクラス構文を使用して実装しています。以下はメソッドの内訳です。
(1) init
クラスの実行メソッドです。モーダルウィンドウを開閉するボタンと、モーダルウィンドウ本体(=モーダルウィンドウのオーバーレイ)に対してクリックイベントでモーダルウィンドウを開閉するメソッド(_toggle)を呼び出しています。
また、キーボード操作への対応として、キーアクション用のメソッド(_handleKeyAction)もここで呼び出しています。
(2) destroy
クラスの破棄用メソッドです(オプション)
(3)_scrollFixed(boolean : boolean)
モーダルウィンドウ内をスクロールした際にメインウィンドウ側がスクロールされないようスクロール伝播を防止するためのメソッドです。通常はbodyにoverflow: hidden;を設定するだけでスクロール伝播を抑制できますが、iOSのみメインウィンドウ側のスクロールが有効になってしまうケースがあるため、bodyをposition: fixed;で固定しつつスクロール位置を操作する方法で実装しています。
(4)_waitAnimation(target: HTMLElement)
DOM要素のAnimationオブジェクトを検知し、CSSで記述したtransitionoranimationプロパティが完了するまで待機するためのメソッドです。
(5)_handleKeyAction(e: KeyboardEvent)
ARIA APGが定義しているキーボード操作を再現するためのメソッドです。
(6)_toggle
モーダルウィンドウの開閉用メソッドです。以下は処理の詳細です。
・アニメーション中(this.isAnimating)は処理をスキップ(連打対策)
・モーダルウィンドウに対して.is-openクラスを付与/削除
・メインウィンドウに対してinert属性を付与/削除(非活性化)
・スクロール伝播の抑制/解除(_scrollFixed)
・モーダルウィンドウ開閉時のフォーカス移動。開く時はモーダルウィンドウ内の一番最初のフォーカス可能要素に、閉じる時はメインコンテンツ内で最後にフォーカスしていた要素にフォーカスを移動させる。
なお、クラスの呼び出し方法については、インスタンス生成時に引数(dialog、toggleTrigger)へそれぞれ該当のセレクタを渡し、init()メソッドを呼び出すことで実行できます。
また、オプションとして、非活性化させるメインウィンドウを配列形式で引数に渡せるようにしています。
dialogでの実装例
ここまで推奨HTMLタグの使用やWAI-ARIAの設定などを行ってきましたが、HTMLのdialogタグを使用すると、これらを気にすることなくキーボード操作やスクリーンリーダーの読み上げに対応させることができます。
<!-- HTML -->
<main class="main">
  <button type="button" class="trigger js-modal-toggle">モーダルウィンドウを開く</button>
</main>
<dialog class="modal js-modal" aria-labelledby="modal-title01" autofocus>
  <div class="modal-container">
    <h2 id="modal-title01" class="modal-title">モーダルウィンドウタイトル</h2>
    <button type="button" aria-label="モーダルウィンドウを閉じる" class="modal-trigger js-modal-toggle"></button>
  </div>
</dialog>
/* JavaScript */
class Modal {
// DOM要素
dialog = null
toggleTriggers = null
focusableEls = null
// インスタンス
abortController = null
// フラグ
isOpen = false
isAnimating = false
constructor({ dialog = '', toggleTrigger = '' }) {
this.dialog = document.querySelector(dialog)
this.toggleTriggers = document.querySelectorAll(toggleTrigger)
this.focusableEls = this.dialog.querySelectorAll('a[href], area[href], input:not([disabled]):not([type="hidden"]):not([aria-hidden]), select:not([disabled]):not([aria-hidden]), textarea:not([disabled]):not([aria-hidden]), button:not([disabled]):not([aria-hidden]), iframe, object, embed, [contenteditable], [tabindex]:not([tabindex^="-"])')
this.isOpen = this.dialog.open
this.abortController = new AbortController()
}
// 初期化
init() {
this.toggleTriggers.forEach((trigger) => {
trigger.addEventListener('click', this._toggle.bind(this), { signal: this.abortController.signal })
})
this.dialog.addEventListener('click', (e) => {
if (e.target === this.dialog) {
this._toggle()
}
}, { signal: this.abortController.signal })
this.dialog.addEventListener('keydown', this._handleKeyAction.bind(this), { signal: this.abortController.signal })
}
// 破棄
destroy() {
this.isAnimating = false
this.isOpen && this._toggle()
this.abortController?.abort()
this.dialog = null
this.toggleTriggers = null
this.focusableEls = null
}
// 背面スクロール抑制
_scrollFixed(boolean) {
let scrollY
if (boolean) {
scrollY = window.scrollY
document.body.style.position = 'fixed'
document.body.style.top = `-${scrollY}px`
} else {
scrollY = document.body.style.top
document.body.style.removeProperty('position')
document.body.style.removeProperty('top')
window.scrollTo(0, parseInt(scrollY || '0') * -1)
}
}
// アニメーションの待機
async _waitAnimation(target) {
const animations = target.getAnimations()
if (animations.length === 0) {
return Promise.resolve()
} else {
await Promise.allSettled(animations.map((animation) => animation.finished))
}
}
// キーボード操作
_handleKeyAction(e) {
const firstFocusableEl = this.focusableEls[0]
const lastFocusableEl = this.focusableEls[this.focusableEls.length - 1]
switch (e.key) {
// Tab(フォーカストラップ)
case 'Tab':
// Shift + Tab(戻る)
if (e.shiftKey) {
if (document.activeElement === firstFocusableEl) {
e.preventDefault()
lastFocusableEl.focus()
}
} else {
// Tab(進む)
if (document.activeElement === lastFocusableEl) {
e.preventDefault()
firstFocusableEl.focus()
}
}
break
// Esc(閉じる)
case 'Escape':
e.preventDefault()
this._toggle()
break
}
}
// モーダルの開閉
async _toggle() {
if (this.isAnimating) return
this.isAnimating = true
this.isOpen = !this.isOpen
this._scrollFixed(this.isOpen)
if (this.isOpen) {
this.dialog.showModal()
requestAnimationFrame(() => {
requestAnimationFrame(async () => {
this.dialog.classList.add('is-open')
await this._waitAnimation(this.dialog)
this.isAnimating = false
})
})
} else {
this.dialog.classList.remove('is-open')
await this._waitAnimation(this.dialog)
this.dialog.close()
this.isAnimating = false
}
}
}
// クラスの実行
const modal = new Modal({
dialog: '.js-modal',
toggleTrigger: '.js-modal-toggle',
})
modal.init()以下はdialogタグのデフォルトの動作です。(※.showModal()メソッドを使用して呼び出した場合)
role="dialog"、aria-modal="true"と同様のユーザーインターフェースとして取り扱われる- モーダルウィンドウを開いた時、フォーカスがモーダルウィンドウ内に移動する
- モーダルウィンドウを開いている間、メインウィンドウの読み上げやテキスト選択を抑制する
- モーダルウィンドウを閉じた時、メインウィンドウの最後にフォーカスされていた要素にフォーカスが移動する
Escキーでモーダルウィンドウを閉じることができる- モーダルウィンドウはどのコンテンツよりも最前面に表示される(最上位レイヤー)
dialogタグには、ARIA APGが定義しているモーダルウィンドウの要件がいくつか標準で搭載されているため、WAI-ARIAの実装例では必要となるHTML属性、CSS、JavaScriptの複雑な処理を軽減できます。
なお、モーダルウィンドウを開く際はdialog.showModal()、閉じる際はdialog.close()というdialogタグ専用のメソッドを呼び出すことで、dialogのopen属性を切り替えることができます。
非モーダルウィンドウを呼び出すdialog.show()メソッドや直接open属性を付与/削除する手法の場合、上記のモーダルウィンドウとしての機能が一部使えなくなりますのでご注意ください。
また、dialogタグはARIA APGの要件を全て兼ね備えているわけではなく、以下の機能は追加で実装する必要があります。
- モーダルウィンドウに適切なラベルを設定する(
aria-labelledbyoraria-label)- モーダルウィンドウを開いた時、モーダルウィンドウ内にフォーカスを閉じこめる
- モーダルウィンドウを開いた時、メインウィンドウへのスクロール伝播を抑制する
- モーダルウィンドウのオーバーレイ(
::backdrop)をクリックするとモーダルウィンドウを閉じる- モーダルウィンドウの開閉にアニメーションを設定する(キーボード操作を含む)
特に開閉アニメーションに関しては、open属性によってdiplayプロパティが切り替わる形(一瞬で表示/非表示)となるため、open属性の付与/削除のタイミングには工夫が必要です。
また、Escキーでモーダルを閉じる機能は標準搭載されていますが、これもいきなりopen属性が削除されるような挙動になるため、アニメーションをつける際はJavaScriptで処理を上書きする必要があります。
おまけ
ここまでの内容でアクセシビリティ的には概ね問題ないのですが、補足として追加で2つTipsをご紹介します。
1. メインウィンドウへのスクロール伝播の抑制
先ほどの_scrollFixedメソッドで実装していたメインウィンドウへのスクロール伝播の抑制は、CSSのoverscroll-behaviorプロパティを使うことでCSSのみで実装することも可能です。
<!-- HTML -->
<body>
  <main>
    <!-- 略 -->
  </main>
  <dialog class="modal" aria-label="モーダルウィンドウ">
    <div class="modal-wrapper">
      <!-- 略 -->
    </div>
  </dialog>
</body>

<!-- CSS -->
<style>
  body {
    &:has(dialog[open]) {
      overflow: hidden;
    }
  }

  .modal {
    width: 100%;
    height: 100%;
    overflow: clip auto;
    overscroll-behavior: contain;

    .modal-wrapper {
      min-height: calc(100% + 1px);
    }
  }
</style>overscroll-behaviorプロパティは、スクロール可能なコンテンツを一番最後までスクロールした時の動作を制御できるもので、containを指定することで背面︎(ここではメインウィンドウ)へのスクロール伝播を抑制することができます。
なお、overscroll-behaviorを機能させるには以下の要件を満たす必要があります。
overscroll-behaviorが指定された要素はスクロール可能であること(overflow: autoorscroll)overscroll-behaviorが指定された要素はスクロールが発生する状態であること
2は少しわかりづらいですが、要はoverscroll-behaviorが指定された要素からはみ出す子要素が存在する場合は必ずスクロールが発生するため、この要件を満たすことができます。
ハック的な手法ですが、.modalの子要素である.modal-wrapperに対してmin-height: calc(100% + 1px);を指定することで、常にスクロールが発生する状態を作り出すことができます。
ただし、.modal-wrapperを新たに設置したことで、先ほどのModalクラスで実装したモーダルウィンドウ本体︎(オーバーレイ)をクリックした時に閉じる処理が効かなくなるため、以下の処理を加えておく必要があります。
/* スクロール発生用 */
.modal-wrapper {
  min-height: calc(100% + 1px);
  pointer-events: none;
}
/* モーダルウィンドウ内コンテンツ */
.modal-container {
  pointer-events: auto;
}
2. diplay:none;にアニメーションをつける
CSSのdisplayプロパティには本来トランジションをつけることができませんが、@starting-styleとallow-discrete使用することで、トランジションを適用できます。
dialog {
  width: 100%;
  height: 100%;
  opacity: 0;
  /* 離散アニメーションを有効化(allow-discrete)*/
  transition:
    opacity 0.3s ease,
    display 0.3s ease allow-discrete,
    overlay 0.3s ease allow-discrete;

  &::backdrop {
    opacity: 0;
    transition:
      opacity 0.3s ease,
      display 0.3s ease allow-discrete,
      overlay 0.3s ease allow-discrete;
  }

  &[open] {
    opacity: 1;

    &::backdrop {
      opacity: 1;
    }
  }

  /* アニメーション開始前のスタイルを設定 */
  @starting-style {
    &[open] {
      opacity: 0;

      &::backdrop {
        opacity: 0;
      }
    }
  }
}@starting-styleでアニメーション開始前のスタイルを定義しつつ、displayプロパティのアニメーションを効かせる要素に対してallow-discreteというtransition-behaviorプロパティを設定します。
離散アニメーションとは、値の間を補完できないdisplayのようなプロパティ向けのアニメーションモードのことで、これを有効化することでdisplayにトランジションを適用できます。
また、overlayはdialog要素のような最上位レイヤー要素のレンダリングに関わるプロパティで、これも合わせてallow-discreteを設定する必要があります。
なお、@starting-styleとallow-discreteは2024年11月現在で全ての主要ブラウザに対応していますが、displayプロパティのアニメーションは一部のブラウザ(バージョン)で使用できなかったりと、まだまだ制約の多いプロパティとなります。
将来的なサポートに期待しましょう。
【@starting-style、allow-discreteを使った実装例】
参考文献
・Dialog (Modal) Pattern | APG | WAI | W3C
・<dialog>: ダイアログ要素 - HTML: ハイパーテキストマークアップ言語 | MDN
・@starting-style - CSS: カスケーディングスタイルシート | MDN
・overlay - CSS: カスケーディングスタイルシート | MDN
・Micromodal.js - Tiny javascript library for creating accessible modal dialogs
・アクセシブルなモーダルダイアログの実装について考える - Zenn
・dialog要素を使ってアクセシブルなモーダルを作ってみよう - Zenn
・アクションシートの実装から学ぶ <dialog> 要素を使う時の3つの落とし穴 - Katashin .info
・dialog要素を使用したモーダルウィンドウの実装例 – TAKLOG
・overscroll-behaviorがお手軽! モーダルUI等のスクロール連鎖を防ぐ待望のCSS - ICS MEDIA
・CSSでdisplay:none;からアニメーションができる! @starting-styleがすべてのブラウザにサポートされました | コリス


